New construction projects often leave windows covered in dust, paint splatters, adhesives, and other stubborn debris. Cleaning these windows properly requires a careful approach to avoid scratches and permanent damage. In this guide, we’ll walk you through the best techniques and tools for safely and effectively cleaning new construction windows.
Why Is Post-Construction Window Cleaning Important?
After construction, windows are often coated with dust, plaster, caulk, or even cement residue. If not cleaned properly, these materials can damage the glass, leaving permanent marks or scratches. Proper cleaning enhances visibility, improves the appearance of the property, and extends the lifespan of the windows.
Tools and Supplies You’ll Need
Before getting started, gather the following essential tools:
- Soft-bristle brushes – To remove loose dust and debris.
- Microfiber cloths – For wiping surfaces without leaving streaks.
- Plastic scrapers or razor blades (used carefully) – For removing paint splatters or adhesives.
- Mild glass cleaner or vinegar-water solution – To break down dirt and grime.
- Squeegee – To remove excess moisture and prevent streaks.
- Shop vacuum – To clear away construction dust.
- Protective gloves – To safeguard hands from sharp debris.
Step-by-Step Cleaning Process
1. Prepare the Area
Start by removing any construction materials, nails, or sharp objects near the window to avoid accidental damage. Lay down drop cloths to protect flooring and window sills.
2. Remove Loose Dust and Debris
Use a soft-bristle brush or a shop vacuum to gently remove loose dust from the window frames, sills, and tracks. Avoid using too much pressure, as construction debris can be abrasive.
3. Tackle Stubborn Residues
For dried paint, caulk, or adhesive residue, use a plastic scraper or razor blade held at a 45-degree angle. Do not scrape dry glass—always mist the surface with a cleaning solution before scraping to minimize the risk of scratching.
4. Clean the Glass
Spray a mild glass cleaner or a vinegar-water solution (a 50/50 mix) onto the window surface. Use a microfiber cloth to gently wipe the glass, working in circular motions to lift grime.
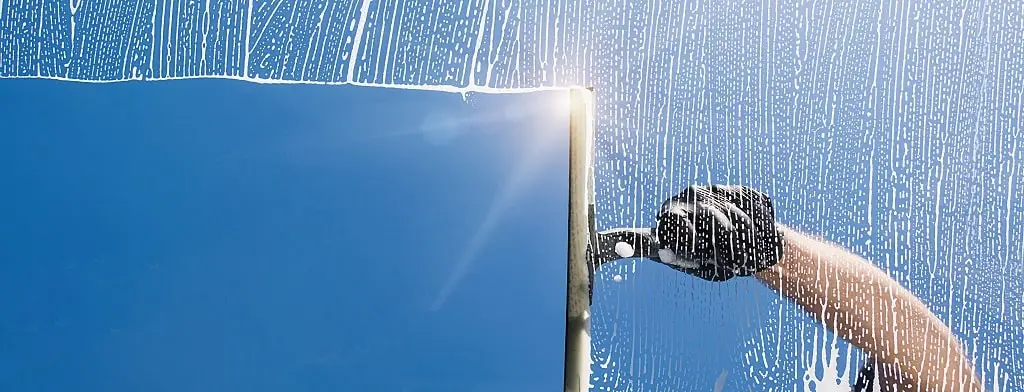
5. Use a Squeegee for a Streak-Free Finish
For a professional-level finish, use a squeegee to remove excess moisture. Start at the top of the window and pull down in a smooth motion, wiping the blade after each pass to prevent streaks.
6. Final Touches
Inspect the window for any missed spots. Wipe down the window frames and sills with a damp microfiber cloth. If any stubborn marks remain, repeat the cleaning process as needed.
Safety Tips for Cleaning New Construction Windows
- Wear gloves to protect hands from debris and chemicals.
- Be cautious when using scrapers or razor blades—improper use can scratch the glass.
- Avoid harsh chemicals, as they may damage window coatings.
- Ensure proper ventilation if using commercial cleaners indoors.
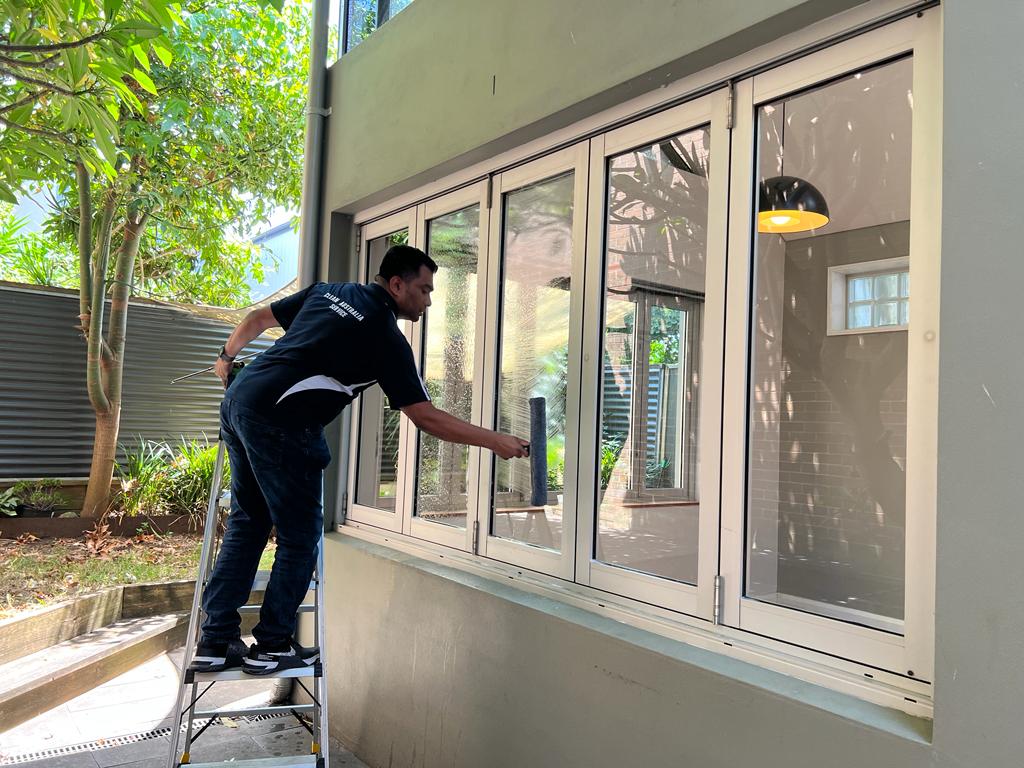
When to Hire Professional Window Cleaners
While DIY cleaning works for minor debris, professional construction window cleaning services—like those offered by Window Cleaning Hereford—ensure a scratch-free, polished finish. Professionals use specialized tools and techniques to remove construction debris safely, making it a worthwhile investment for larger projects.
Conclusion
Cleaning new construction windows requires patience, the right tools, and careful technique to avoid damage. By following this guide, you can restore your windows to pristine condition while preserving their longevity. If you’re looking for expert help, consider reaching out to Window Cleaning Hereford for a flawless, streak-free finish.